Tickets & ticket design
Create a ticket type
A ticket type is one kind of ticket you sell, for example General Admission, Early Bird, or VIP. On the event Dashboard, click Add Ticket.
- Name: required. Shown in Ticket Booth and on the ticket card.
- Price (₱): required. Use 0 for a free ticket.
- Description (optional): what the ticket includes.
- Limited Supply: on by default. Set Quantity. Turn off for unlimited tickets.
- Show in Ticket Booth: off by default. Turn it on so buyers can see this type on the public page.
- Included Merch (optional): attach merch so each attendee picks a size at checkout.
Save with Create Ticket. Repeat for each type. See Set Up Tickets for the shorter checklist.
Free vs paid tickets
Set Price (₱) to 0 for a free ticket. Buyers still go through checkout so you get a name, email, and QR code, but they are not charged a service fee.
Paid tickets use the event Processing Fee setting: Buyer pays processing fee (added at checkout) or Organizer absorbs processing fee (buyers pay the ticket subtotal). Organizer-paid fees require the base price to be free or high enough to cover the service fee.
Bundle tickets
Turn on Ticket Bundle for multiple attendees per purchase. Set Attendees Included (for example 2, 5, or 10).
Total Attendees on the Dashboard counts each included seat. If you add a buyer manually on a bundle, extra attendees are created as “Guest by [buyer name].”
Discounts on ticket types
On the ticket form, turn on Discount. Choose Percentage or Fixed Amount, then set Value. This is a ticket-level discount (built into the type), not a coupon code at checkout.
Ticket Net Revenue uses the price each order actually paid, so changing this discount later does not restate past sales.
Ticket Design
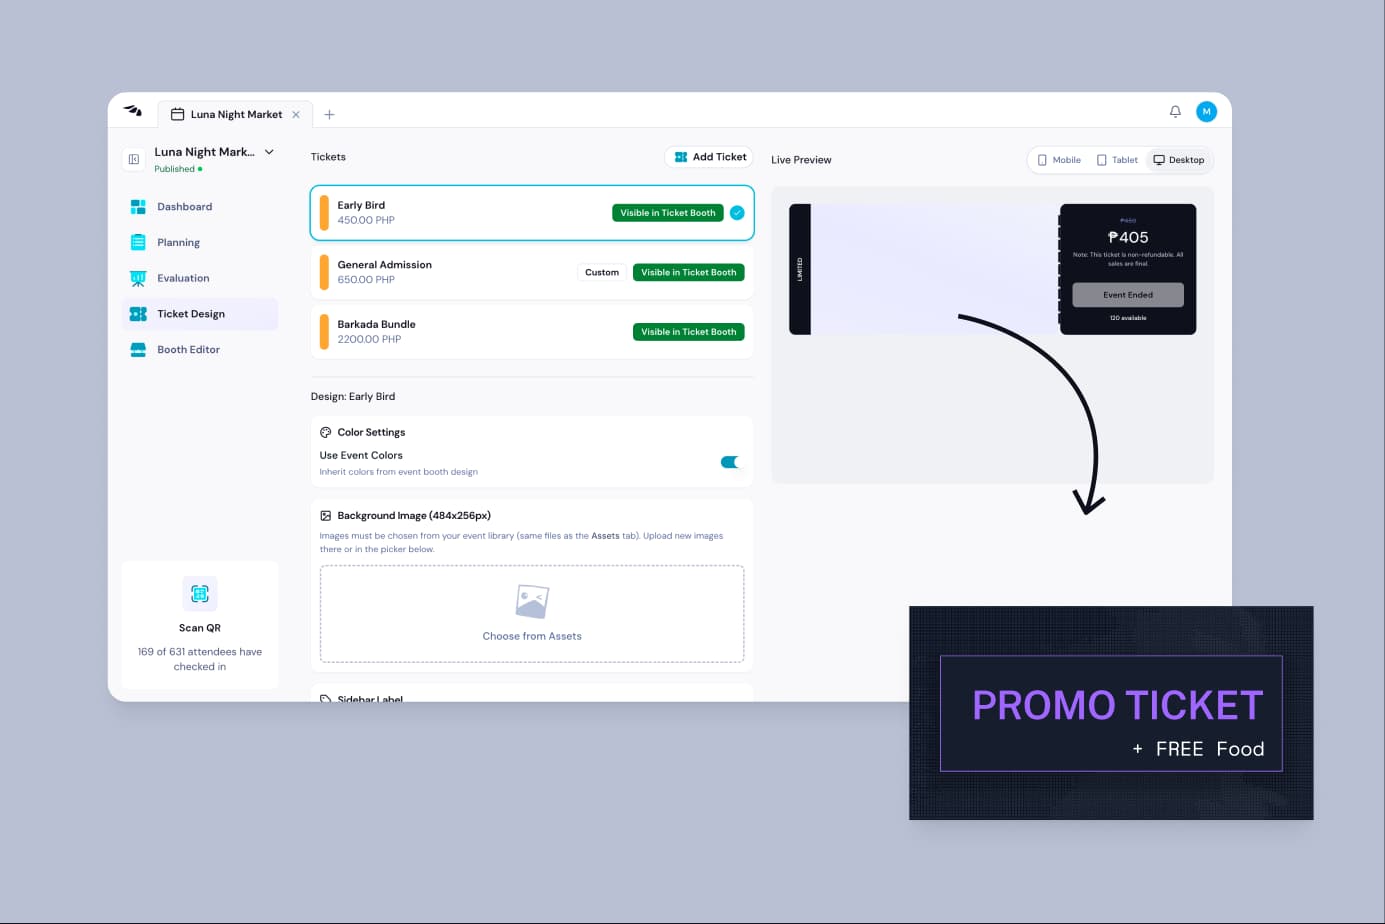
Open Ticket Design from the event side panel. Select a ticket, then style the card buyers receive.
- Use Event Colors: inherit colors from the Ticket Booth. Off: set Primary Color (sidebar) and Accent Color (button).
- Background Image (484x256px): pick from the Assets library.
- Sidebar Label: optional Custom Label; leave empty to use the ticket name. Max 30 characters.
Preview on mobile, tablet, and desktop. Save changes when you are done.
Add a photo to a ticket
In Ticket Design, select the ticket. Under Background Image, click Choose from Assets (or Replace from Assets). Upload JPG, PNG, or WebP up to 5 MB. Recommended size: 484 × 256 px.
Step-by-step with specs: How to Add a Photo to a Ticket.
Processing fee payer
Set this in Processing Fee when you Create Event. It applies to all paid tickets on that event.
- Buyer pays processing fee: the fee is added to the checkout total. You keep the ticket subtotal.
- Organizer absorbs processing fee: buyers pay the ticket subtotal only. The fee comes out of your payout.
Service fees explained
Paid tickets: 5% + ₱20 per ticket at checkout. Tickets priced ₱20,000 and above are charged 5% only. Free tickets have no service fee. The fee is shown to buyers before they pay.
See Plans & limits and Pricing.
Hide ticket types / sold out behavior
- Turn off Show in Ticket Booth to hide a type from the public page without deleting it.
- When Limited Supply reaches quantity sold, Ticket Booth shows Sold Out and the buy button is disabled.
- After the event end time, the button shows Event Ended.
Duplicate an event
On the home Dashboard, open the event card menu and choose Create duplicate. In Duplicate event, set Event name (default {Event} (Copy)) and Event URL slug, then click Create duplicate. Typid copies tickets (sold count reset to 0) and coupons (used count reset to 0). The copy is unpublished (Draft). You can also right-click an event card and choose Duplicate.